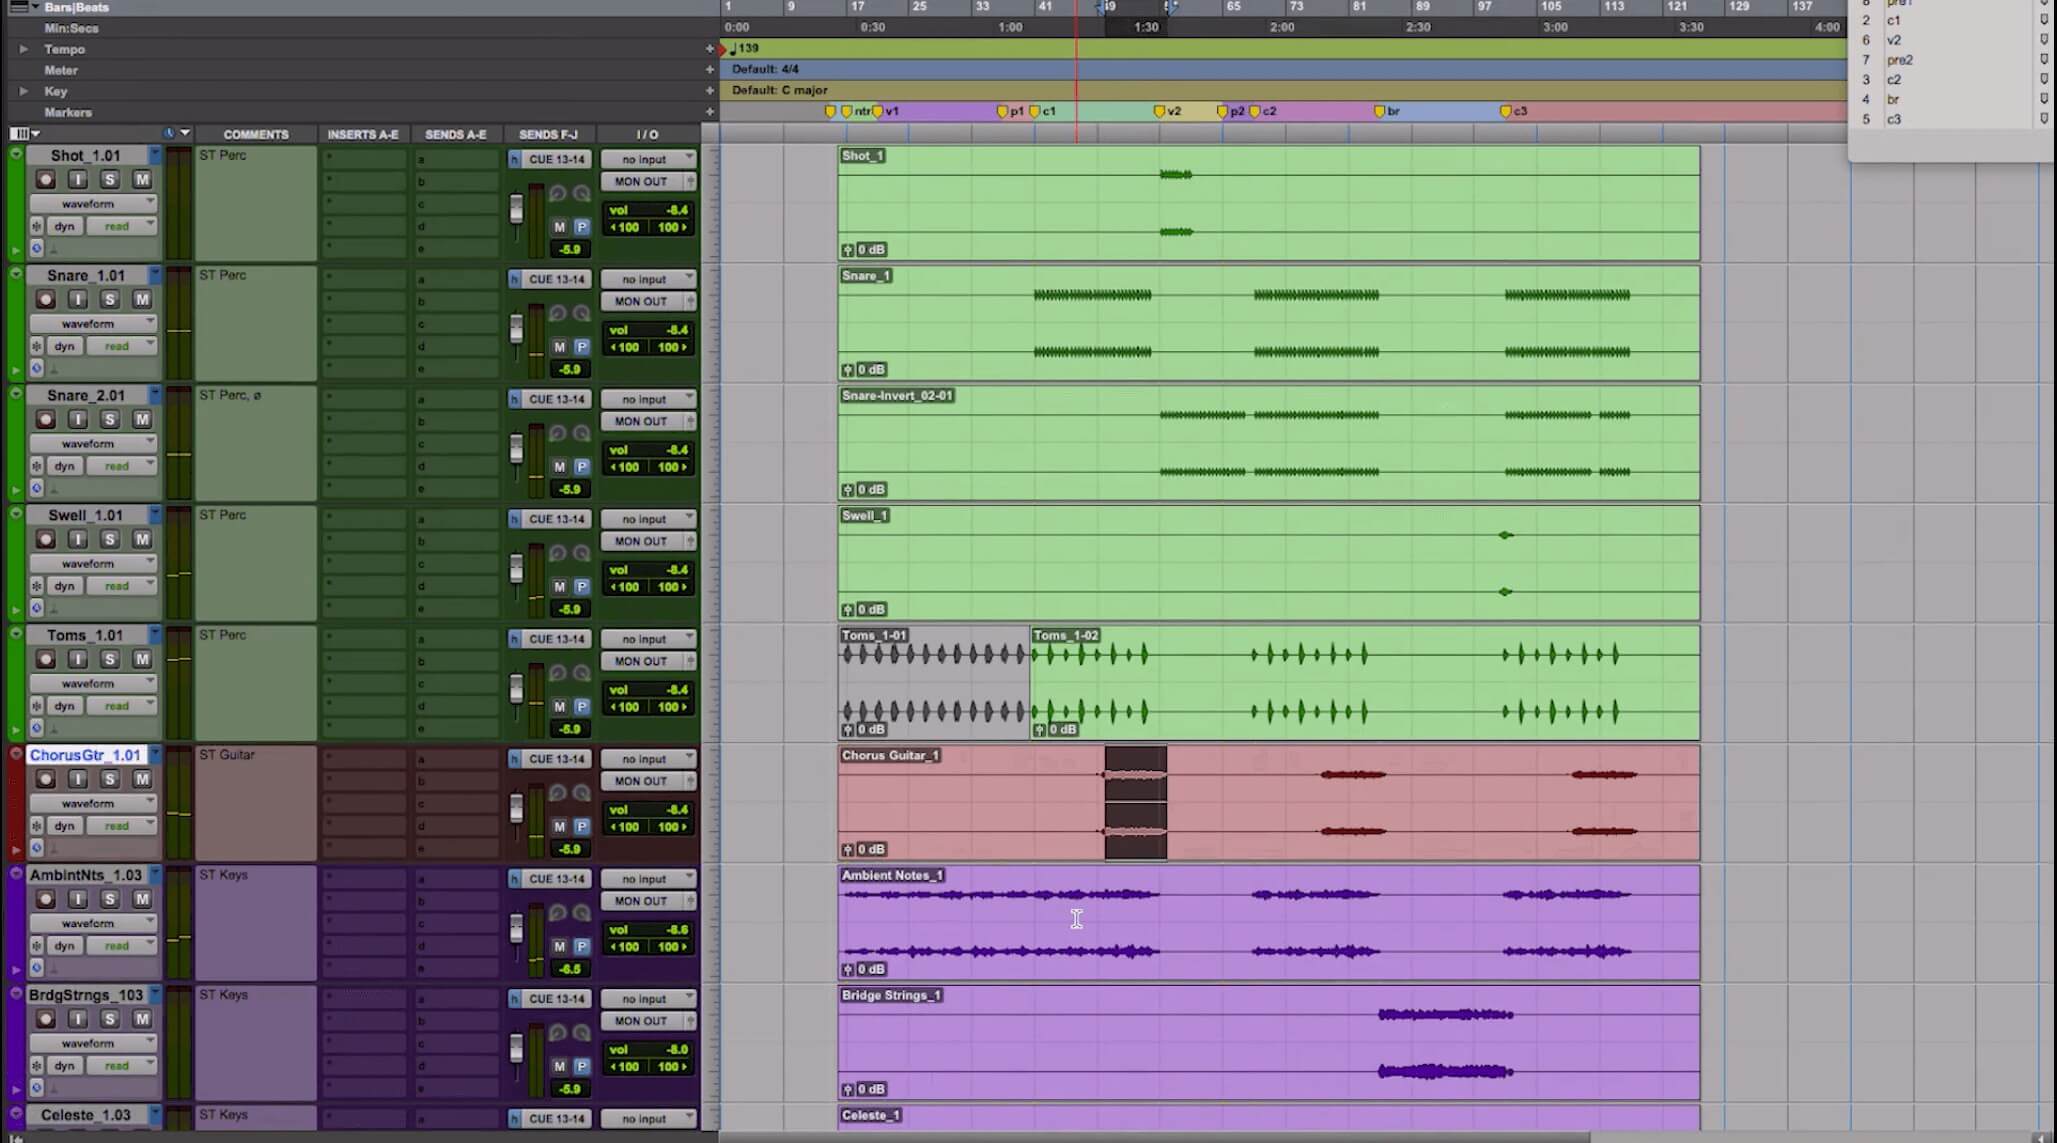
In this excerpt from “Start to Finish: Jacquire King - Episode 6 - Reviewing The Programming,” Jacquire explains that he’s adding additional tracks to the Oak and Ash song “Keep the Light On” to support and fill out the arrangement. He likes to have them in place in advance of the tracking session. That way, the band can hear them while they’re recording. “It makes it feel and sound a bit more like the record as soon as the band goes out on the floor to play,” Jacquire says.
He gives examples of some of the types of tracks he’ll typically add. These include supportive guitar parts, drum programming, percussive elements and vocal effects.
Supplement, Don’t Supplant
According to Jacquire, it’s vital to make sure any parts he adds are totally in agreement with the band’s arrangement. For example, if the song has a stop, the new parts need to stop there, as well.

Just some of the additional tracks that Jacquire is adding to “Keep the Light On,” in advance of the basic tracking session.
He could undoubtedly fix a mistake in a programmed track after the band has recorded, but having it in there during tracking could cause needless confusion. Those tracks will be in the band members’ monitor mixes as they record, so he wants everything he adds to be accurate right from the start.
He imported the lead vocal and a harmony part from the band’s demo into the Pro Tools session to use as scratch vocals. That way, he and his associate Spencer, who works on the track programming also, can maintain a feel for the song as they’re creating the additional elements.
He then goes on to explain the types of tracks he added. They include a simple synth bass that will augment the bass guitar track, several keyboard parts, and a vocoder effect in one part of the song and an additional guitar part that supports the choruses.
Why Add More?
Bands typically develop song arrangements to fit their instrumentation. That approach is sensible for putting together parts for live shows, but there’s no rule saying you can’t beef up the arrangement in the studio.
Naturally, you don’t want to add tracks just for the sake of doing so. There should be a musical purpose for each, such as filling out the sound more, layering parts for heft (particularly drums), accentuating specific sections, or building the song as it goes along.
Copy That
For example, maybe you want a massive kick drum sound that you can’t get from mic’ing a bass drum. You could use a drum replacer to create a sound to supplement your kick or manually add MIDI notes to match the kick’s audio (the latter is much trickier to do, however).

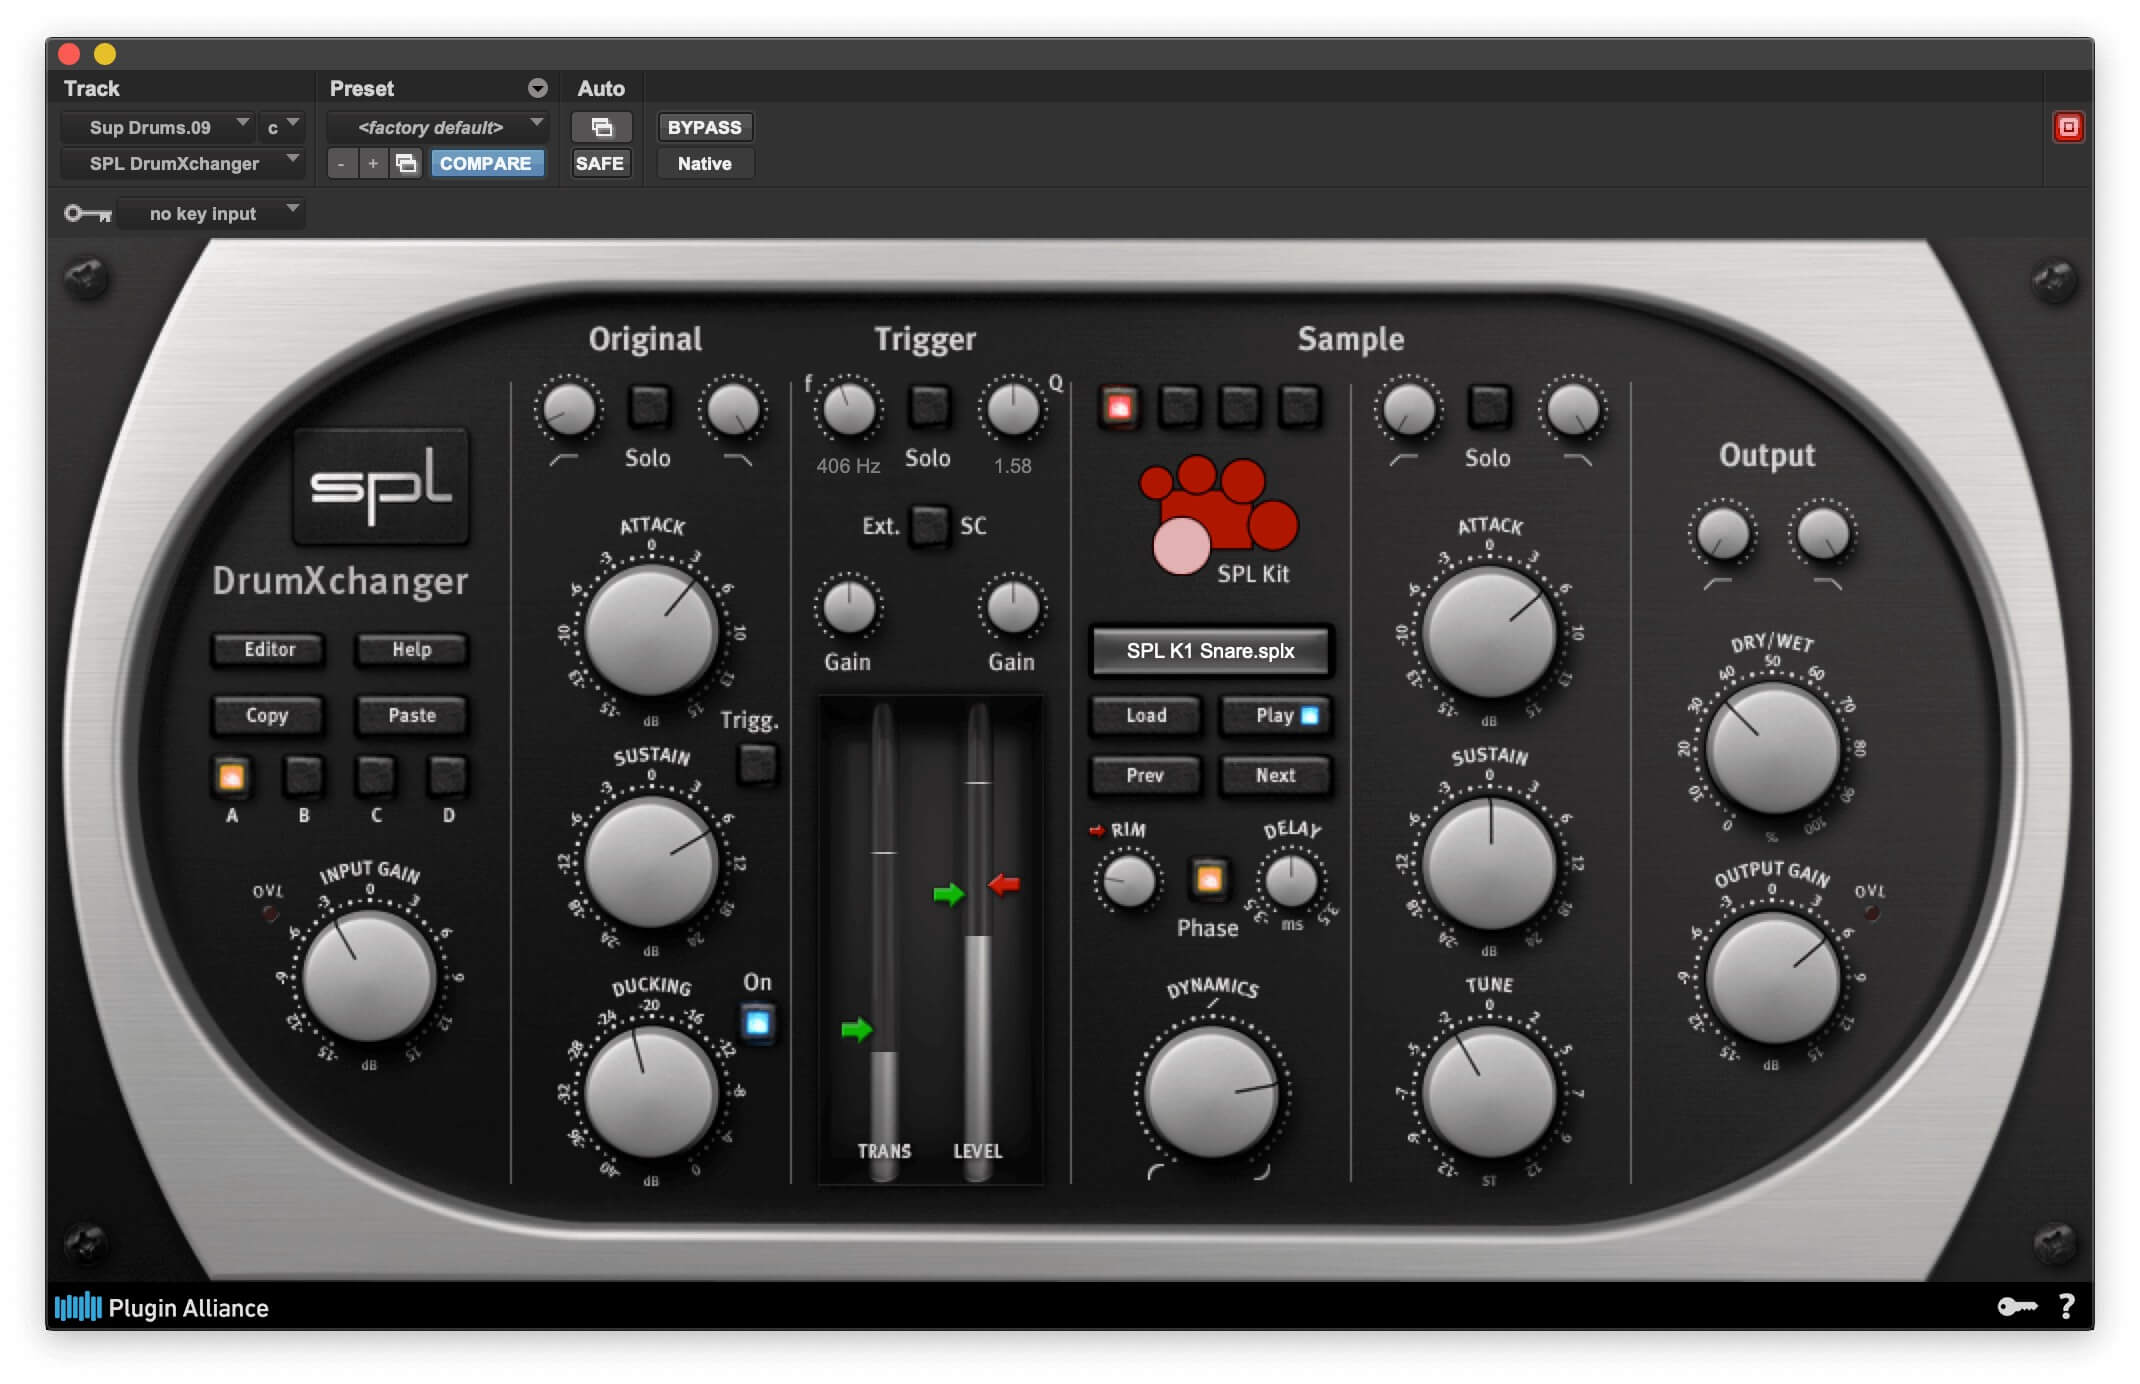
If you’re trying to add supportive tracks to make audio drums more full, you can try a drum replacer like SPL Drum Xchanger and layer samples with the original sounds or replace them completely.
Or, if your drums are in the form of MIDI to start with, you can easily duplicate the part and layer it with other sounds, even if it’s just the kick drum. If your MIDI drums are all in a single track, duplicate it and then strip out from the new track all the notes other than the kick, snare or whatever drum element you want to reinforce. Then assign a new sound or virtual instrument to it.
A lot depends on the genre you work in. If you’re playing in an organic style, such as singer-songwriter folk or Americana, where the emphasis is on real instruments, you probably wouldn’t want to add synth parts unless you’re going for a hybrid sound.
But for pop-rock like the Oak and Ash song or other pop styles that mix real instruments with programmed MIDI sources—or are mostly the latter—you have a wide-open palate of potential sounds to work with.
Looking for Sources
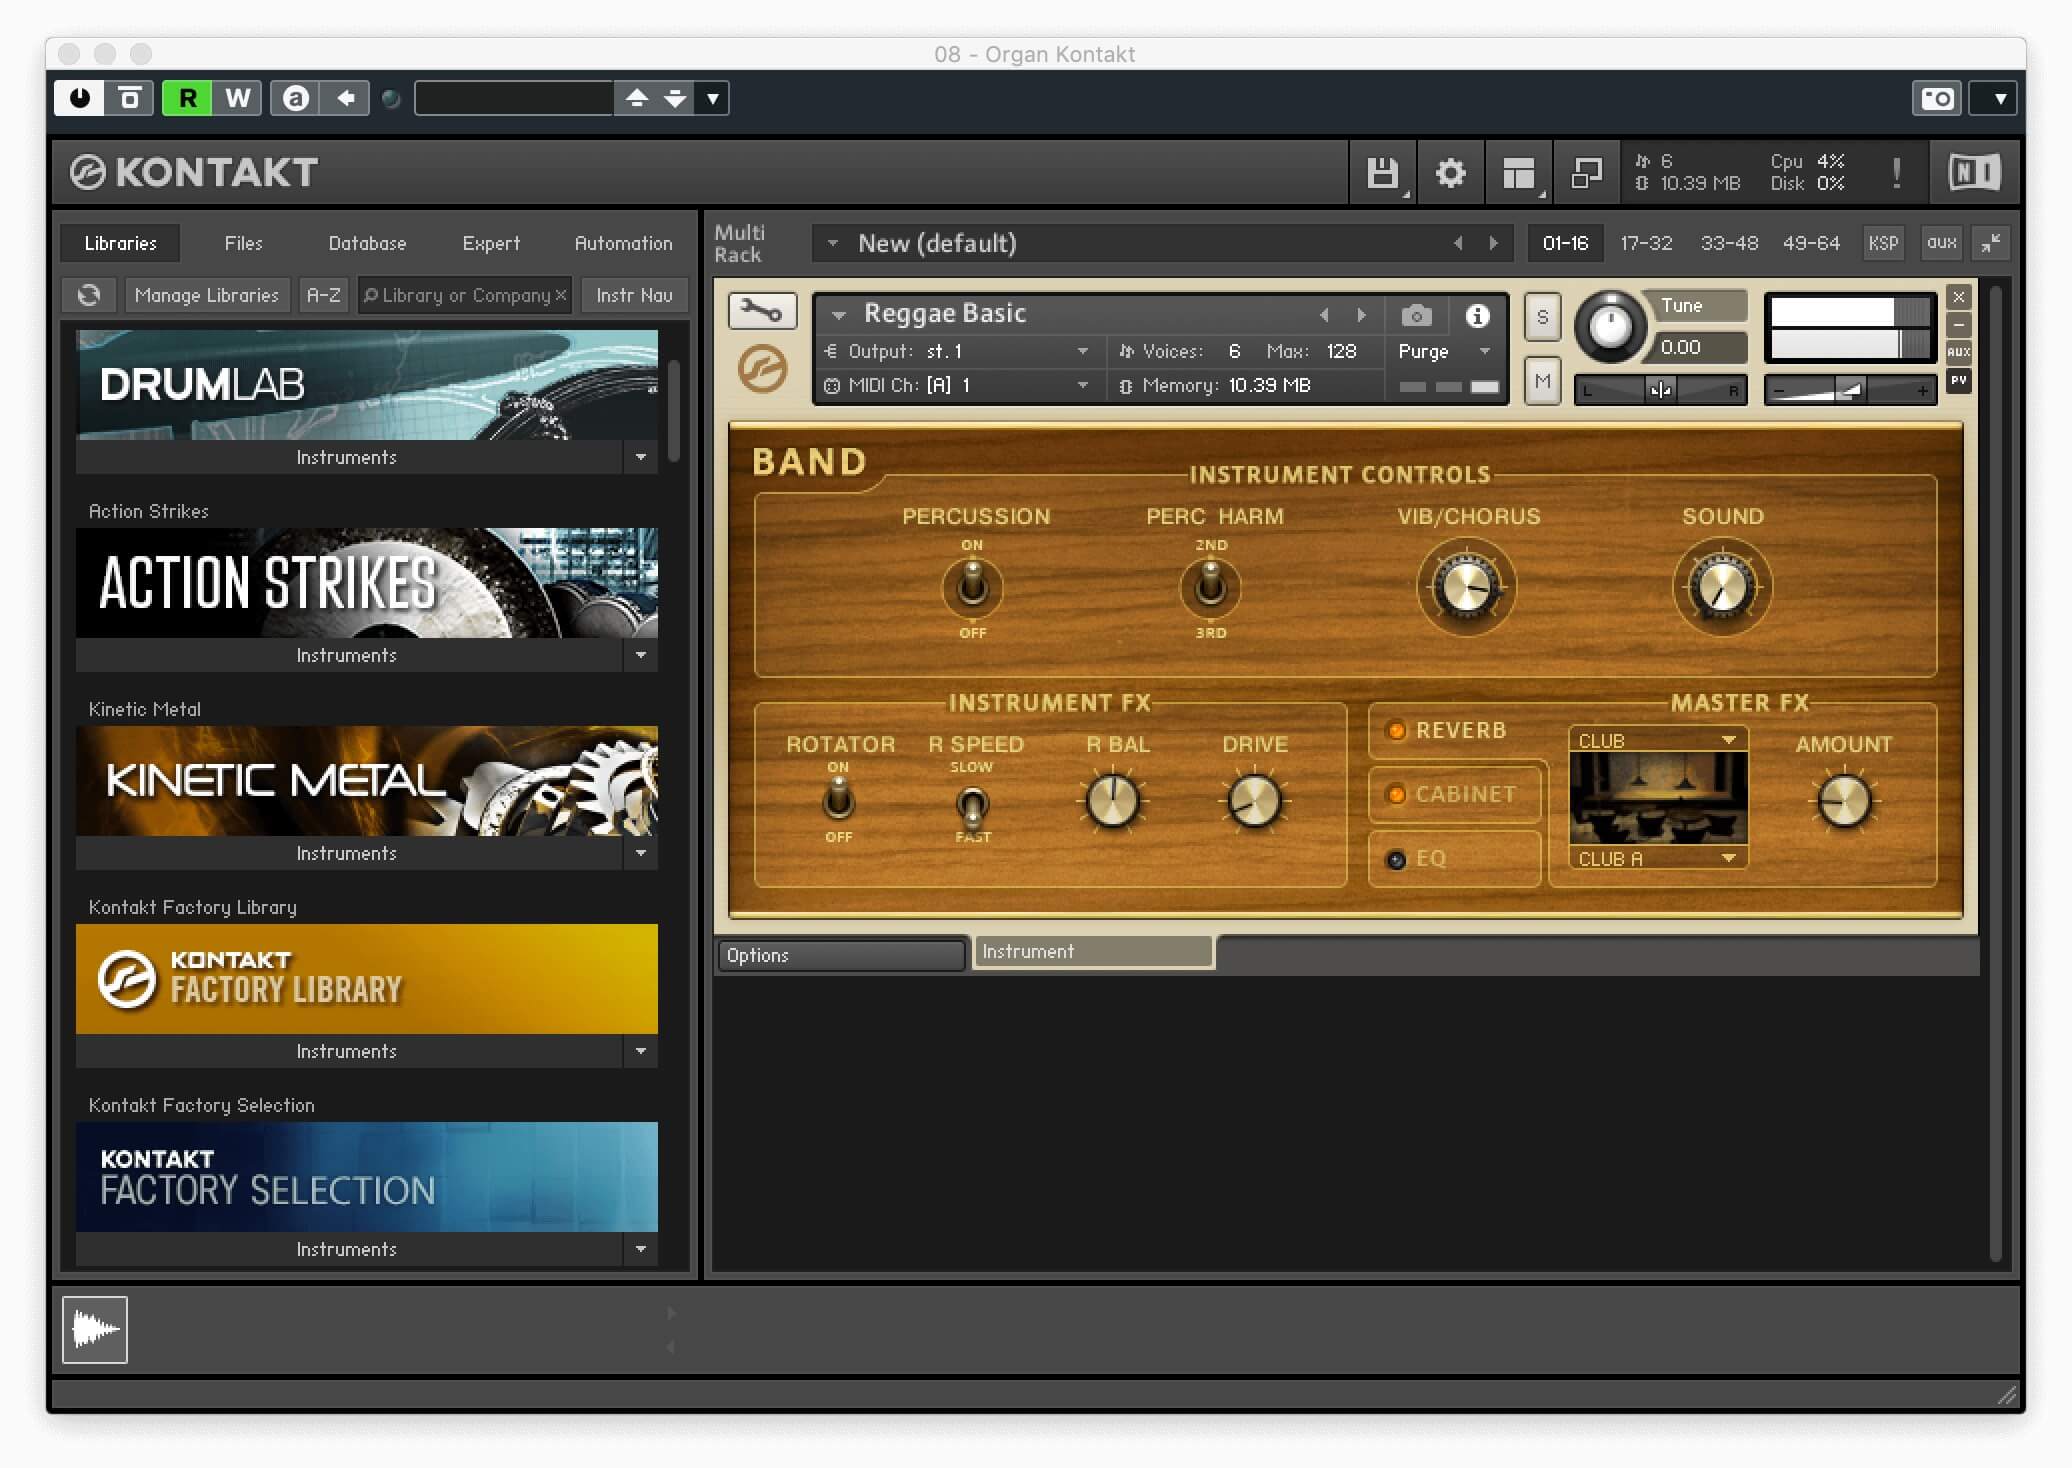
Sample-playback instruments such as Native Instruments Kontakt, Sampler in Logic, Halion SE in Cubase and similar, provide you with a vast range of potential sounds. Kontakt supports many collections of sampled instruments and sounds that you can add to its basic library.

Native Instrument’s Kontakt supports huge range of collections.
Opening a sampler or sample player on a track makes it easy to experiment with different sonic textures. And sometimes, just looking or listening to the available sounds will trigger ideas.
When it comes to sample collections, the world is your oyster. You can find samples for Kontakt of standard Western instruments and those from other cultures, which can add real spice. And virtually every DAW comes with powerful synths—and there are so many incredible third-party synths that are available.
If you’re trying for something a little unusual, you can get cool effects from found sounds, that is, sounds that you record yourself in and around your home and then load into a sampler or drop into a track. For example, a record a refrigerator door closing to layer on a kick drum. Naturally, it all depends on the musical style and context.
Listen Up
The following audio examples will show some additional tracks added to a sparse reggae-influenced instrumental track, to fill out an arrangement that initially consists of just MIDI drums, MIDI bass, rhythm guitar and a guitar melody played in octaves.
First, here is an 8-bar section of the original track.
It definitely can use some augmentation, part wise. We’ll start with a couple of support tracks to beef up some of the existing elements.
The first addition is a synth bass, which was layered with the electric bass sample from the Subtractor synth in the Reason Rack plug-in. Because the bass part was MIDI, it was easy to duplicate it on another track so that both the original and layered part are identical rhythmically and melodically.
First, you’ll hear four measures with only the original bass. On bar 5, the layered bass comes in, making the sound fuller and a little warmer. On bar 9 the drums and rhythm guitar come back in for context. The melody guitar is muted here, so you can focus on the bass sound.
Next, to give the kick drum a little more upper-midrange emphasis, the MIDI part was duplicated, and a sample made from hitting a covered cardboard box was layered on it.
In the first four measures, you’ll hear the original bass drum and then the layer comes on measure 5. The bass and rhythm guitar come back in on bar 9.
Depending on the musical style, sometimes layering a drum loop on top of the original drums can give you a fuller and more intricate part. Here, a dancehall-reggae-style audio drum loop combines with the original drum tracks. Not all the kick hits align from the original part and the loop, but overall, they work well together, and that’s what matters. The snare from the original part was reduced considerably to allow the (more interesting-sounding) snare from the loop come through more clearly.
You’ll hear four measures with the original part, and then four with the new drum-loop layered on top with the other instruments coming in on bar 9.
More Touches
Now we’ll add some additional tracks to supplement the instrumentation. In a full song arrangement, you could bring these parts in at an appropriate spot to help build the energy. You wouldn’t necessarily want them all in from the top.
One of the additions you’ll hear in the next example is a shaker part from Kontakt’s Cuba collection. Hand percussion parts (whether recorded live or in loop form or triggered by MIDI notes), particularly when mixed in subtly, can add additional life to a song section and provide contrast with previous sections.
You’ll also hear two other additional tracks: one is a muted guitar line with a lot of delay on it that answers the melody in a couple of spots.

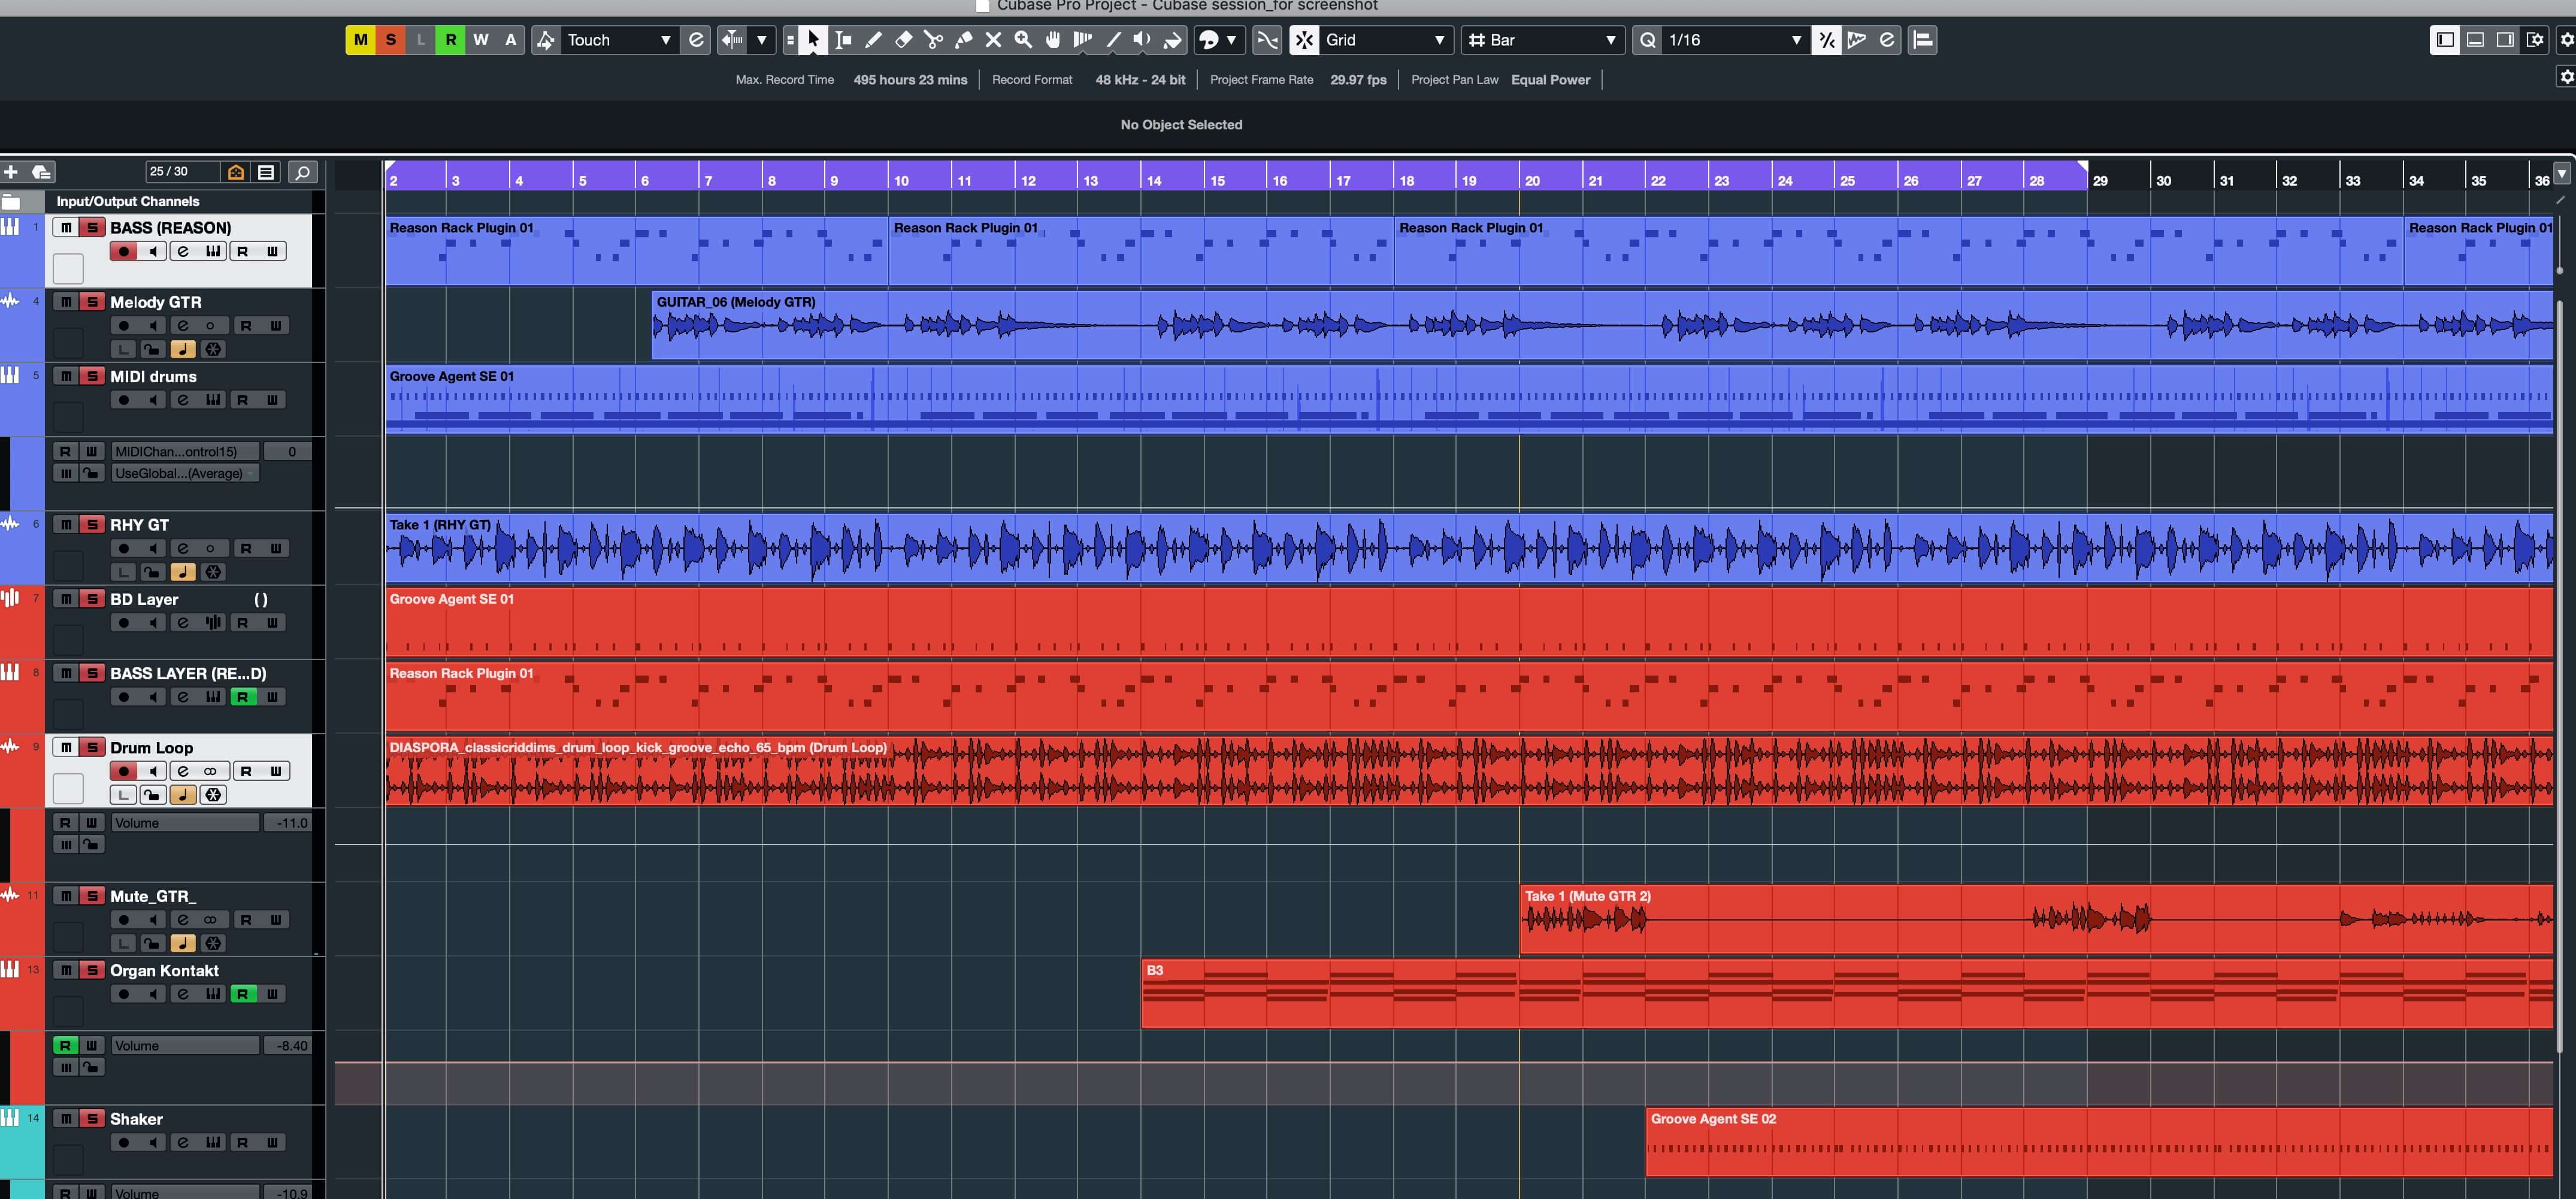
The tracks for the final example. The original tracks are in blue and the added ones in red.
You’ll hear a simple chordal pad come in, played with a B3 organ sound from Kontakt, as well. Pads are also useful for filling out parts and adding change as a song progresses.
The organ enters at bar 13 and the shaker at bar 21. The muted guitar comes in at 18 and 19 as it answers the melody line's end.