One of the most common requests an engineer will hear at a session is, "Can you turn me up in my headphones?" Most musicians and singers are accustomed to hearing themselves way above the rest of the tracks in their cue mix. In commercial studios equipped with personal mixing stations, which allow musicians to control their own monitor mix, you can bet that most people turn themselves up significantly higher than the rest of the band.
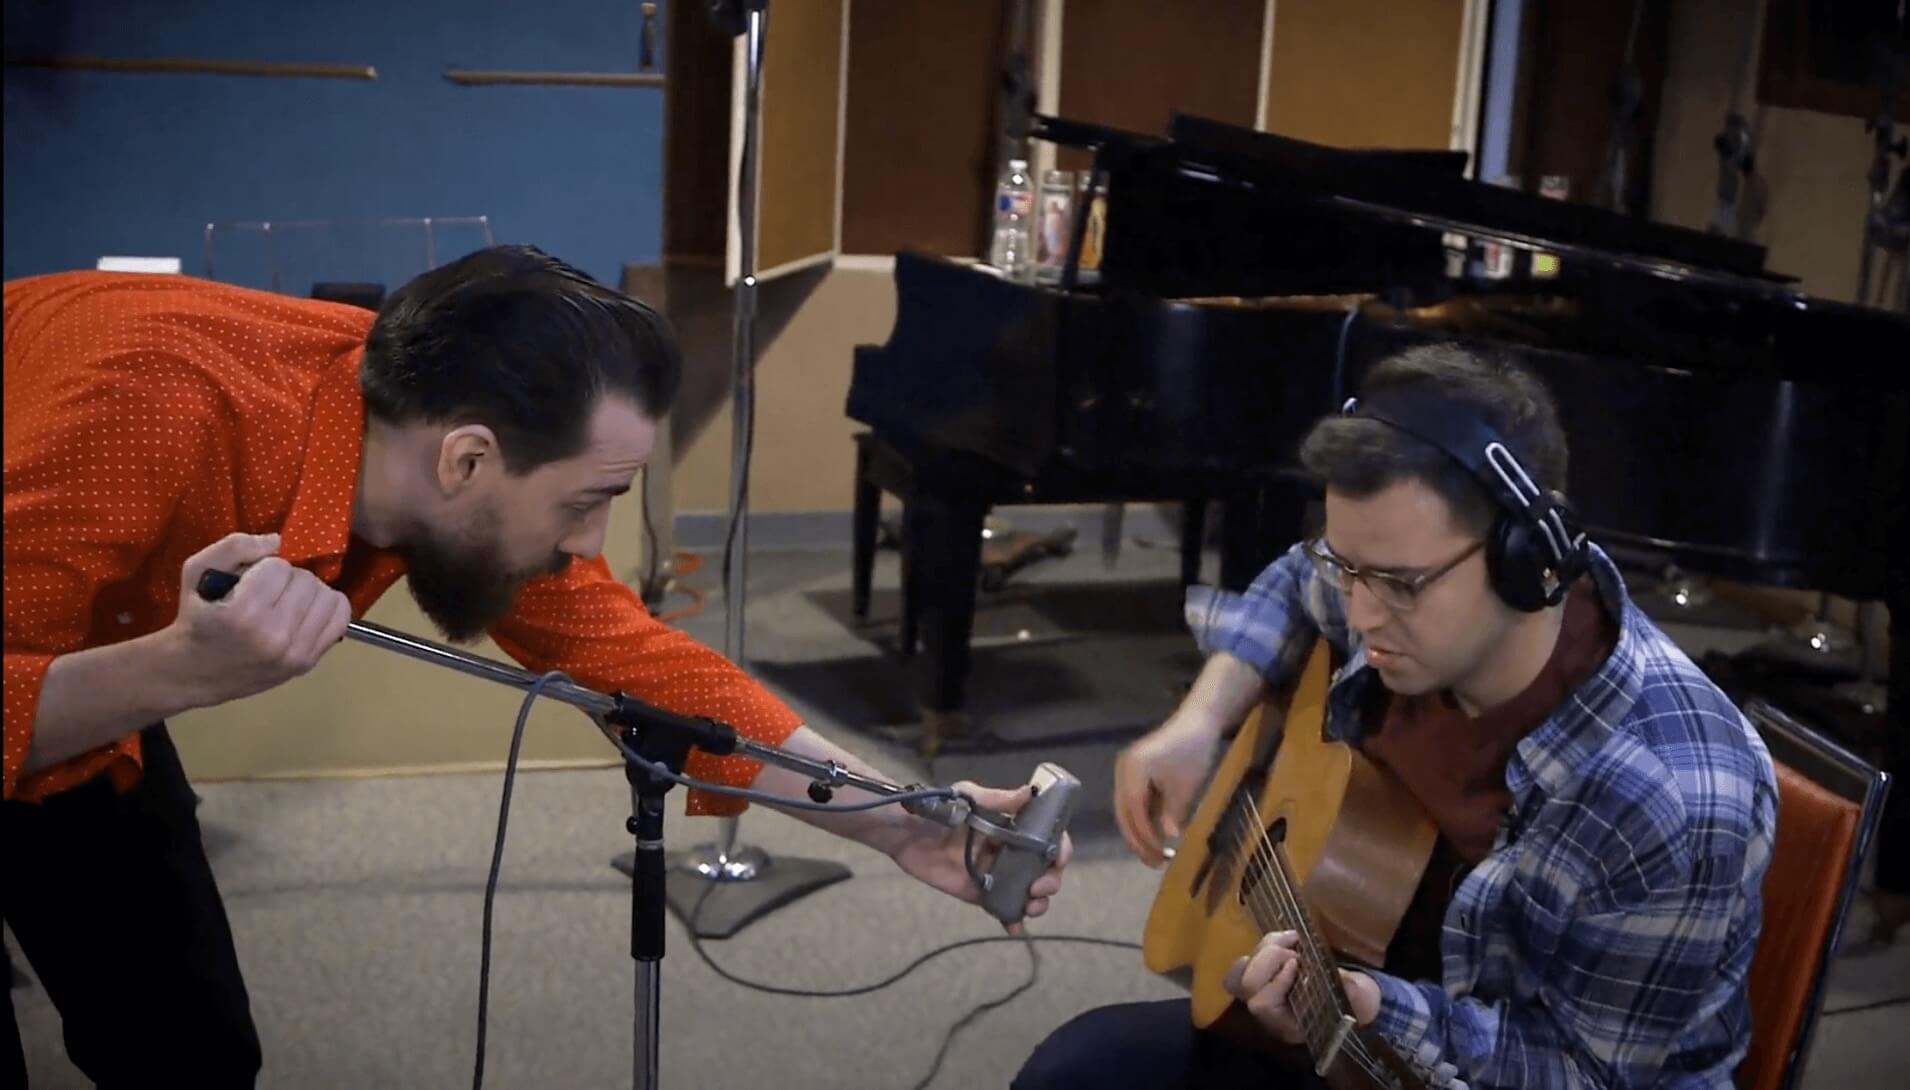
In this excerpt from Start To Finish: Matt Ross-Spang - Episode 7 - Recording Acoustic Guitar, Matt offers a different perspective on the subject of cue mixes. As he’s getting ready to record Eli "Paperboy" Reed’s acoustic guitar overdubs, he talks about his cue mix philosophy.

Matt, who is an extremely hands-on producer, adjusts the mic position for Eli "Paperboy" Reed's nylon-string acoustic guitar.
Context is Everything
They don't have personal monitoring stations at Sam Phillips Recording Service, where the session is taking place, just headphone distribution boxes. That simplicity suits Matt just fine because he doesn’t think it’s productive to have musicians and singers controlling their own headphone mixes. He thinks that they’ll inevitably turn themselves up too loud, and therefore won't be able to fully lock into the groove.
By giving them cue mixes where everyone is at the approximate levels that they'll be in the final mix, Matt creates a situation he describes as "almost like playing without headphones." It forces everyone to focus on the collective groove, making them much more likely to lock into it and give a great performance.
He says if someone really needs to hear themselves more, he does have a second cue mix available at this studio that he can send to that person. He points out that nobody complained about their cue mix levels during the tracking phase of this session.

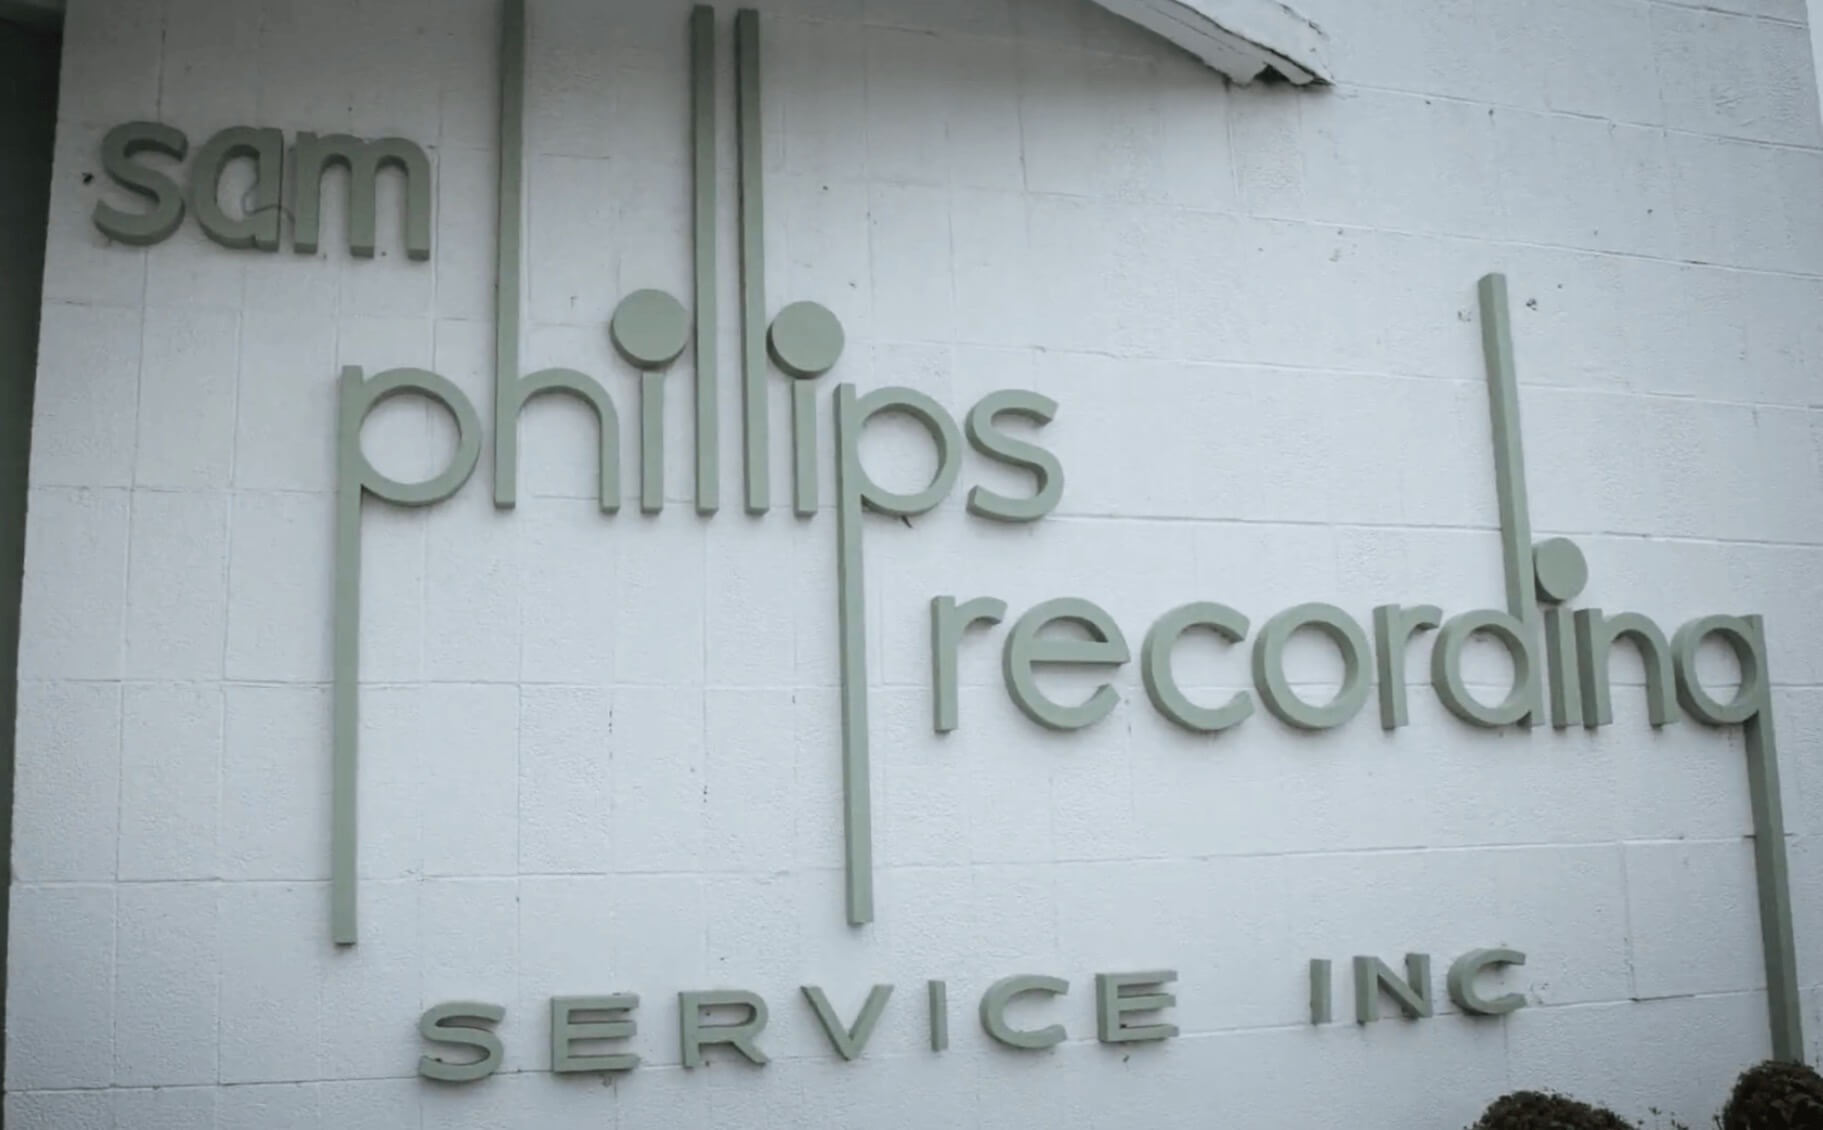
The session takes place at Sam Phillips Recording Service in Memphis, TN.
In the control room, Matt likes to listen to the same mix—or at least a very similar one—as the musicians. By hearing the various elements blended at “final mix” levels, he can evaluate whether the recording setup he's using (mics, mic placement, input chains etc.) is working or if he needs to make adjustments.
Matt's production style is all about groove, vibe and getting authentic sounds, so his philosophy about cue mixes makes perfect sense in that context.

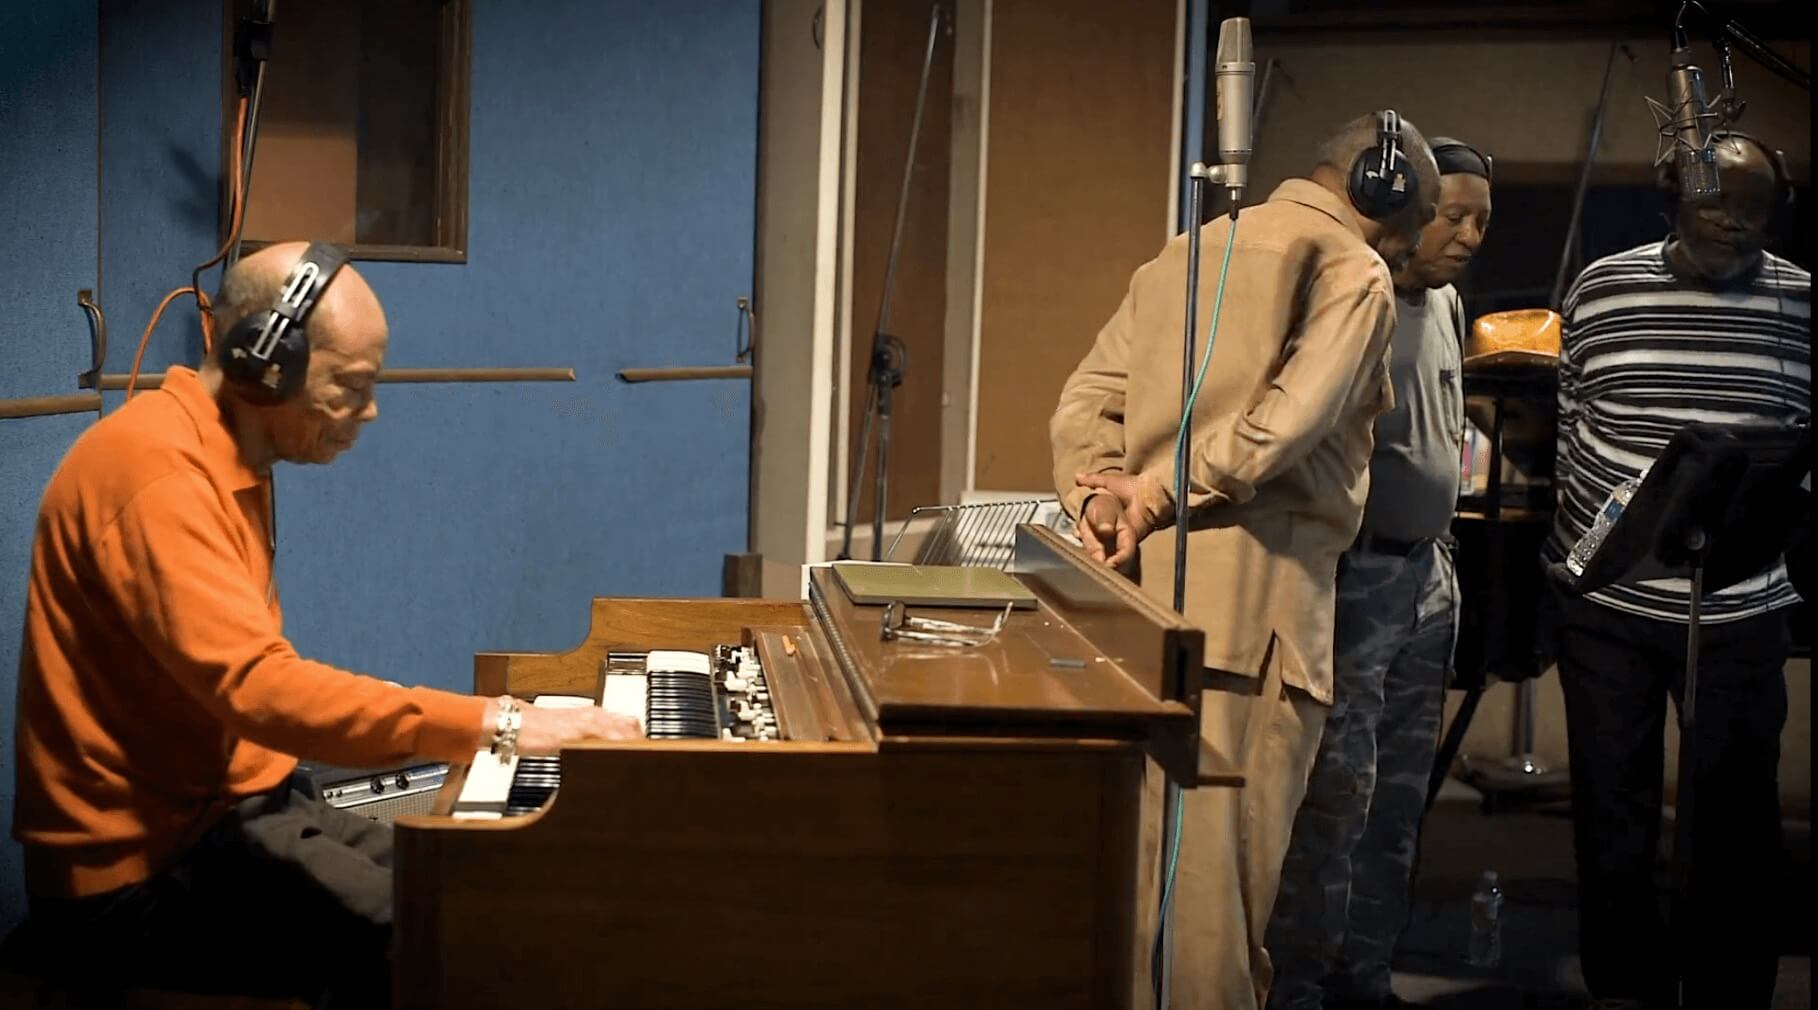
Rather than giving each musician a lot more of themselves in their headphones, Matt provides a cue with levels similar to the final mix.
Locked In
The concept of groove is an interesting one. When skilled musicians record together, they listen to each other and adjust their playing—almost subconsciously—so that they're as locked in as possible. When everything is clicking, the results can be sublime.
One of Matt's talents as a producer is creating an environment—through his choice of studios and gear and his relaxed demeanor—that brings out the best from the musicians and singers he works with.

Matt likes to listen to the same cue mix in the control room as the artists are hearing.
Creating Feel
Even in a commercial studio with a group of seasoned musicians, it’s not a given that you’ll capture great performances. But if you’re producing organic music such as old-style R&B, blues, Americana, indie-folk, rock' n' roll, or something similar from your home studio, it can be really challenging.
It’s particularly tough to get an authentic feel if you have to use MIDI in place of some of the instruments. Still, there are some steps you can take to make your music sound natural and groove as much as possible under the circumstances.
Keep your arrangements centered around the real instruments that you do have. If you have to use drum loops (MIDI or audio) instead of a real drummer, you can record some hand percussion on top, or live crash cymbals (if you have access to some) to help loosen up the feel of the track.
And, of course, take Matt's advice and don't turn yourself (or another musician you’re recording) up too loud in the monitor mix when overdubbing over existing tracks.
First This than That
If you’re layering the tracks as you go, the drums should go down first (except for maybe a chordal reference track and scratch vocal). The drum part provides a rhythmic foundation, and when you’re recording guitars, basses and other instruments, it will provide something to groove with. If you record some of those other tracks before the drums are down, they won’t be as rhythmically locked in.
Even if you're using MIDI drums, it's still best to have them in place before recording any other keeper tracks. For organic music styles, it can be very effective to use MIDI loops that were recorded by actual drummers playing MIDI kits. They're generally not quantized, so they have a much more realistic feel. Many virtual drum instruments offer such grooves.
Think Like a Drummer
One big advantage to MIDI drums compared to audio drum loops is that they're much easier to edit. If you have access to good quality MIDI loops and an authentic-sounding virtual drummer, you'll have a lot more flexibility to construct your song-length drum parts.

It's best to have the drum part in place, whether it's live or a drum instrument like Toontrack Superior Drummer 3, so the musicians who overdub have a groove to lock to.
That said, putting together a song-length part and making it sound authentic is a challenge, even with a good loop collection—whether MIDI or audio. You can't repeat the same loop endlessly. The part will need to change, at least subtly, for the different song sections. Fortunately, many loop collections offer several variations on each basic groove.
You can also introduce dynamic changes at appropriate spots with volume automation. Although audio loops can sound more authentic than MIDI ones, they're a lot harder to edit if you need to make changes within a loop. So, there are advantages to both.
Fill ‘Er Up
When working with loops, be careful of how you use fills. The fills provided with loop collections are often overly busy. In most cases, simpler is better, and try not to repeat the same fills in multiple spots in the song.
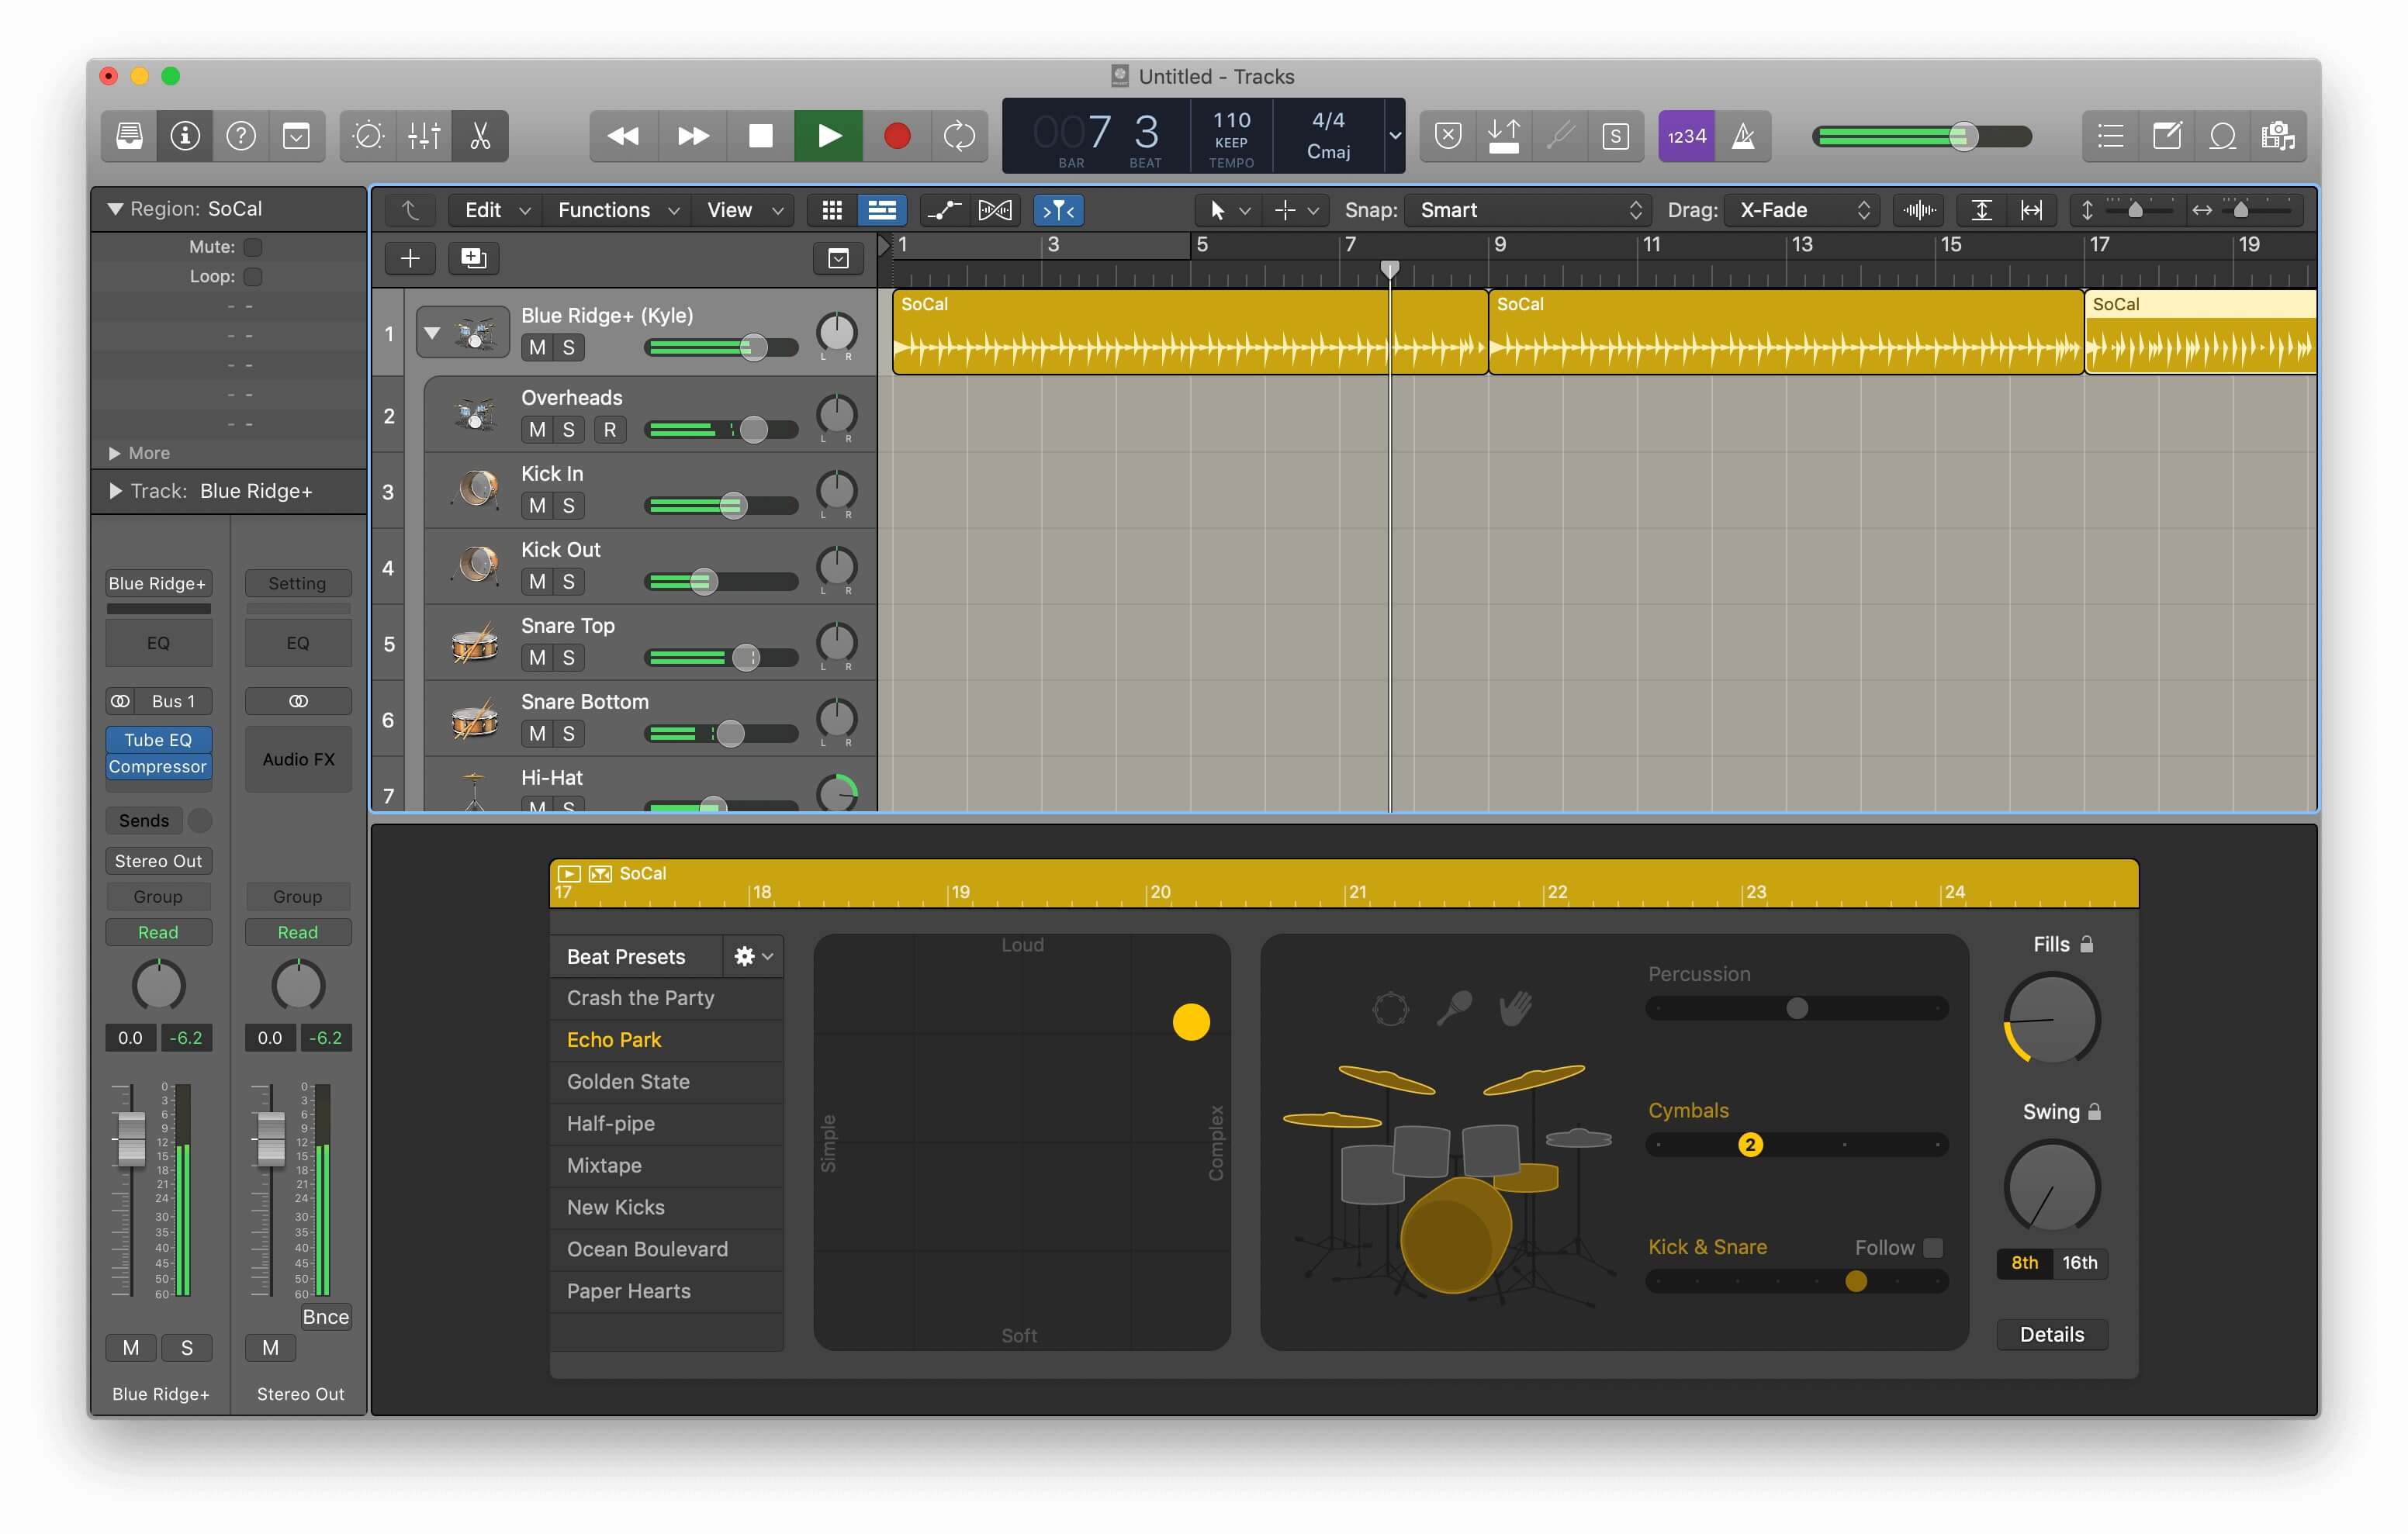
If you use Apple Logic Pro X, you have access to the Drummer feature, which provides authentic sounding virtual drums that are easy to program and offer many different kits. What's more, if you use one of the included Producer Kits, you can open up each drum on a separate track and mix them like you would a real kit.

Apple Logic Pro X's Drummer features Producer Kits that can be opened in the mixer with all the drums on separate channels.
Can You Tell?
The following audio example features three short drum excerpts, one after another. One is from an audio loop of a famous drummer, one is from Apple Logic Pro X's Drummer feature, and one is from Toontrack Superior Drummer 3, an excellent virtual drum instrument that comes with a lot of grooves. They've all be processed a bit. Before looking at the answer below, listen and see if you can tell which of the three is the real drummer.
The answer is number two. The loops came from The Loop Loft’s Simon Phillips collection.
All of the drum sounds in the example would sound pretty convincing—assuming they were assembled in authentic, song-length parts—particularly with other instruments around them in a mix.