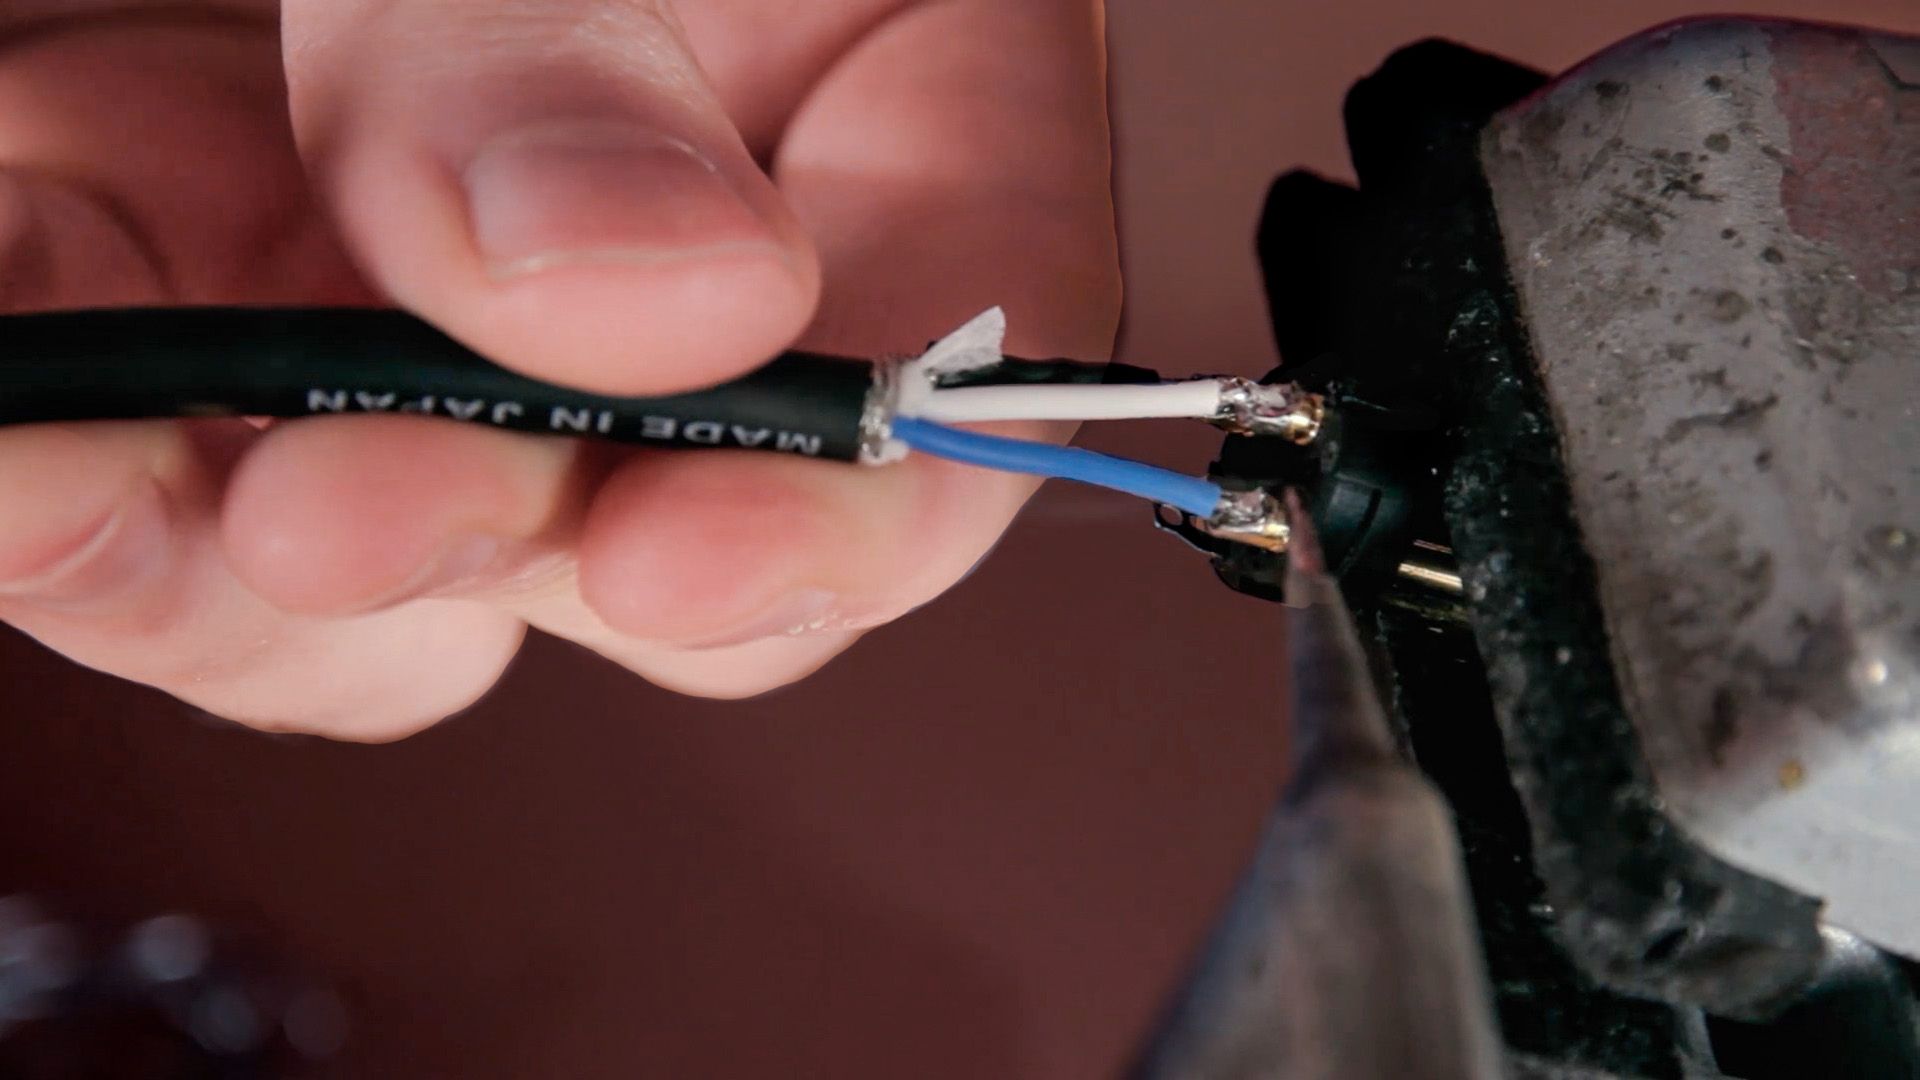
Soldering an XLR cable
10m


1 free episodeInside the mix
FREETutorials
Inside the mix
Tutorials
Inside the mix
Tutorials
$49.00Tutorials
FREETutorials
Tutorials
FREETutorials
$39.00Inside the mix
FREEMix Fix
$34.00Inside the mix
1 free episodeInside the mix
FREETutorialsInterviews
Inside the mix
TutorialsExplained
Inside the mix
TutorialsHow to listen
$49.00TutorialsTemplates
FREETutorialsExplained
Tutorials
FREETutorialsInterviews
$39.00Inside the mix
FREEMix Fix
$34.00Inside the mix
